
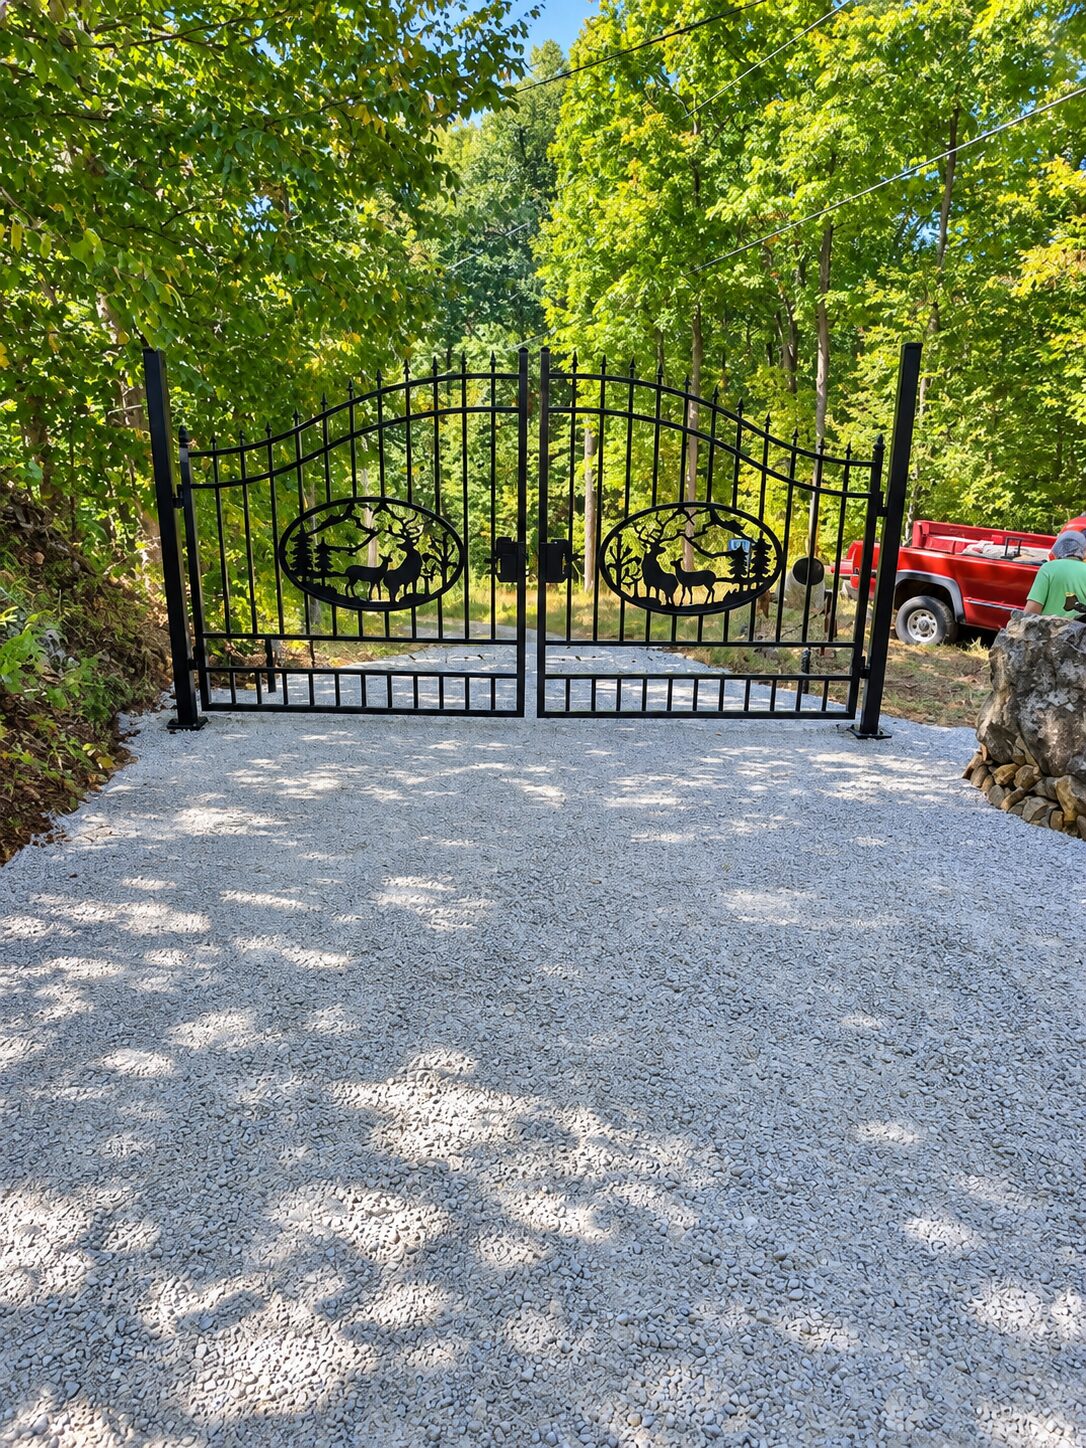
Gravel Driveways
New gravel driveways, resurfacing, culverts and drainage crowns built to last Ontario winters.
Overview
Gravel Driveway Installation, Built the Right Way
A gravel driveway is a small road. Built properly it drains, stays crowned, and lasts for years with only occasional top-ups. Built poorly it turns into ruts, potholes and a spring mud pit.
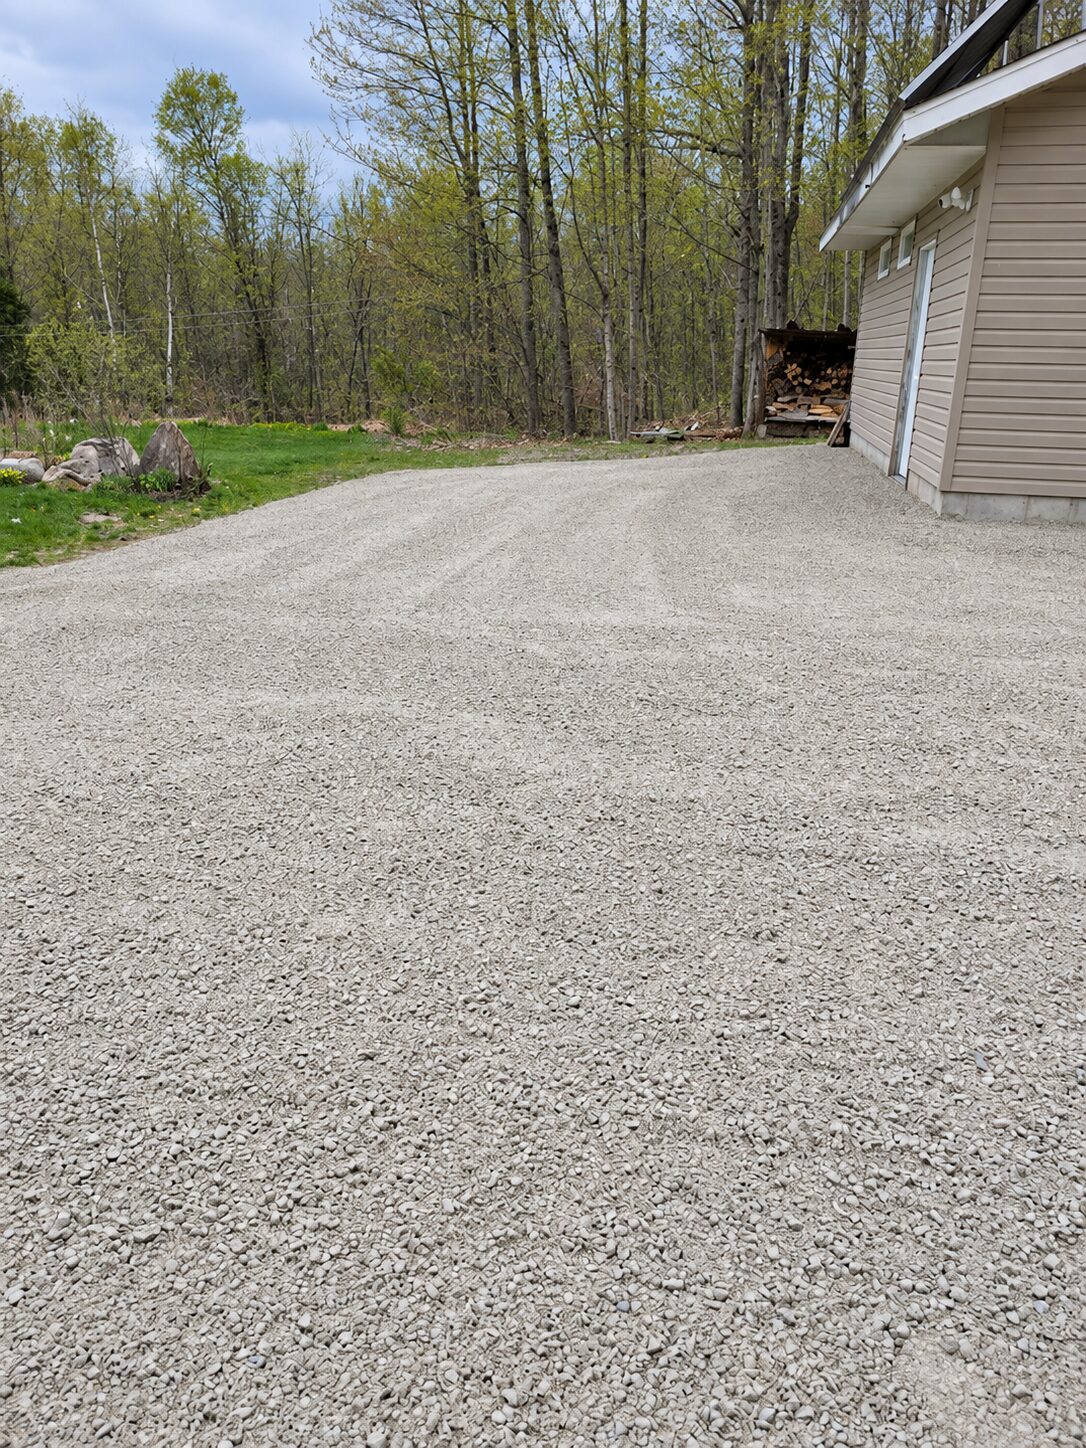
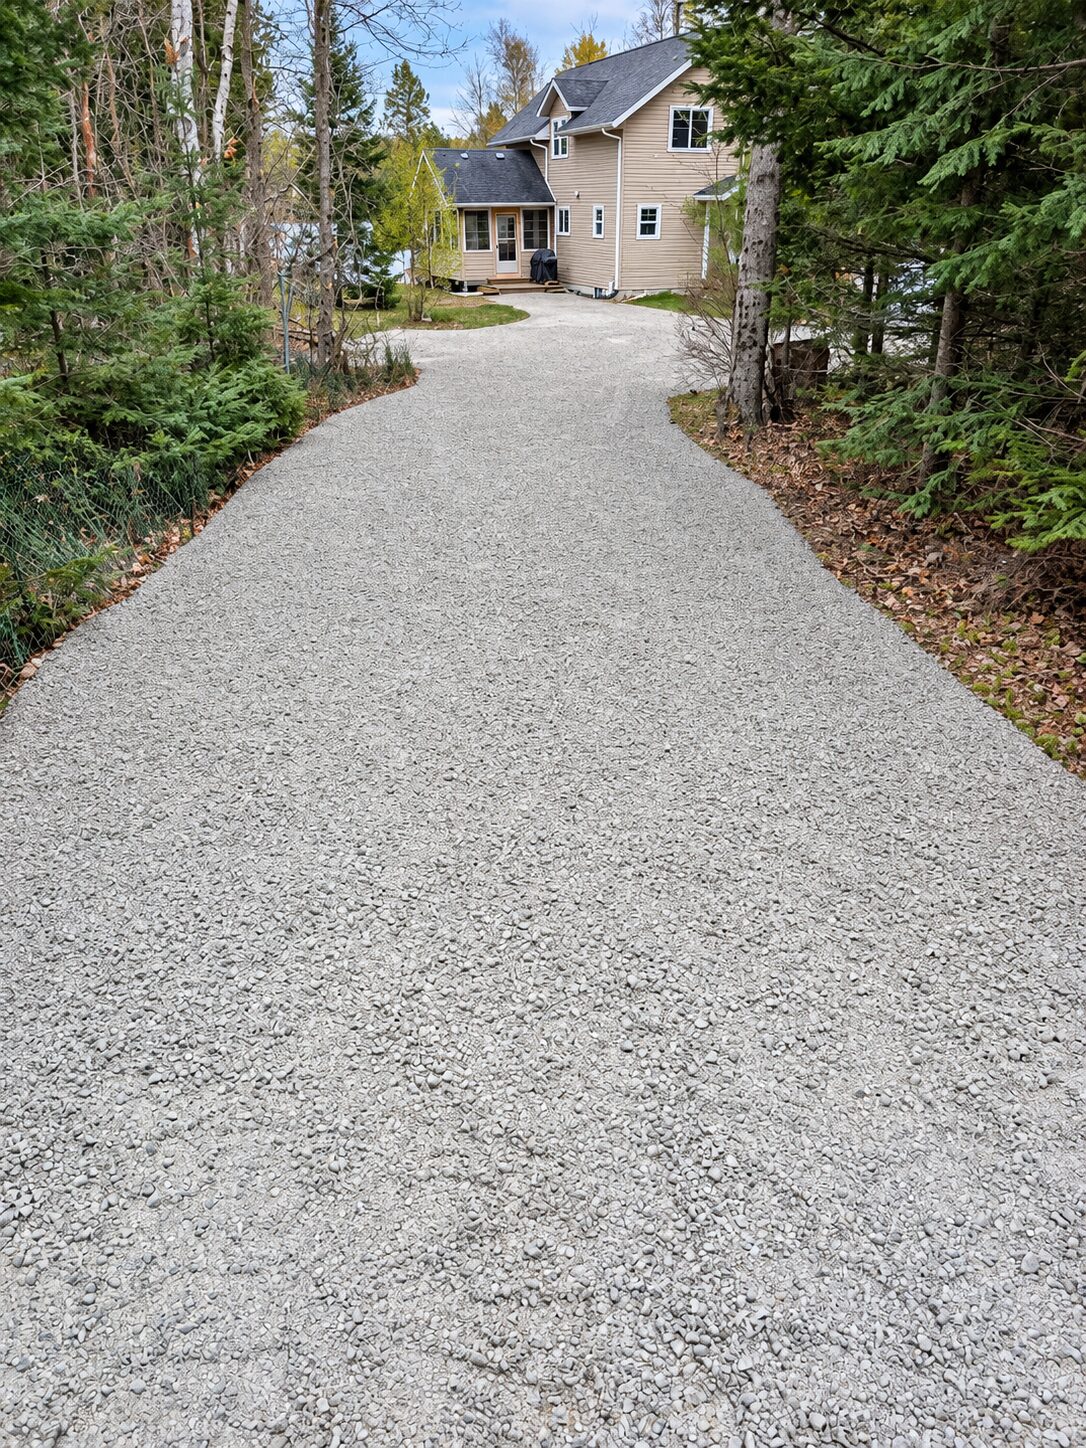
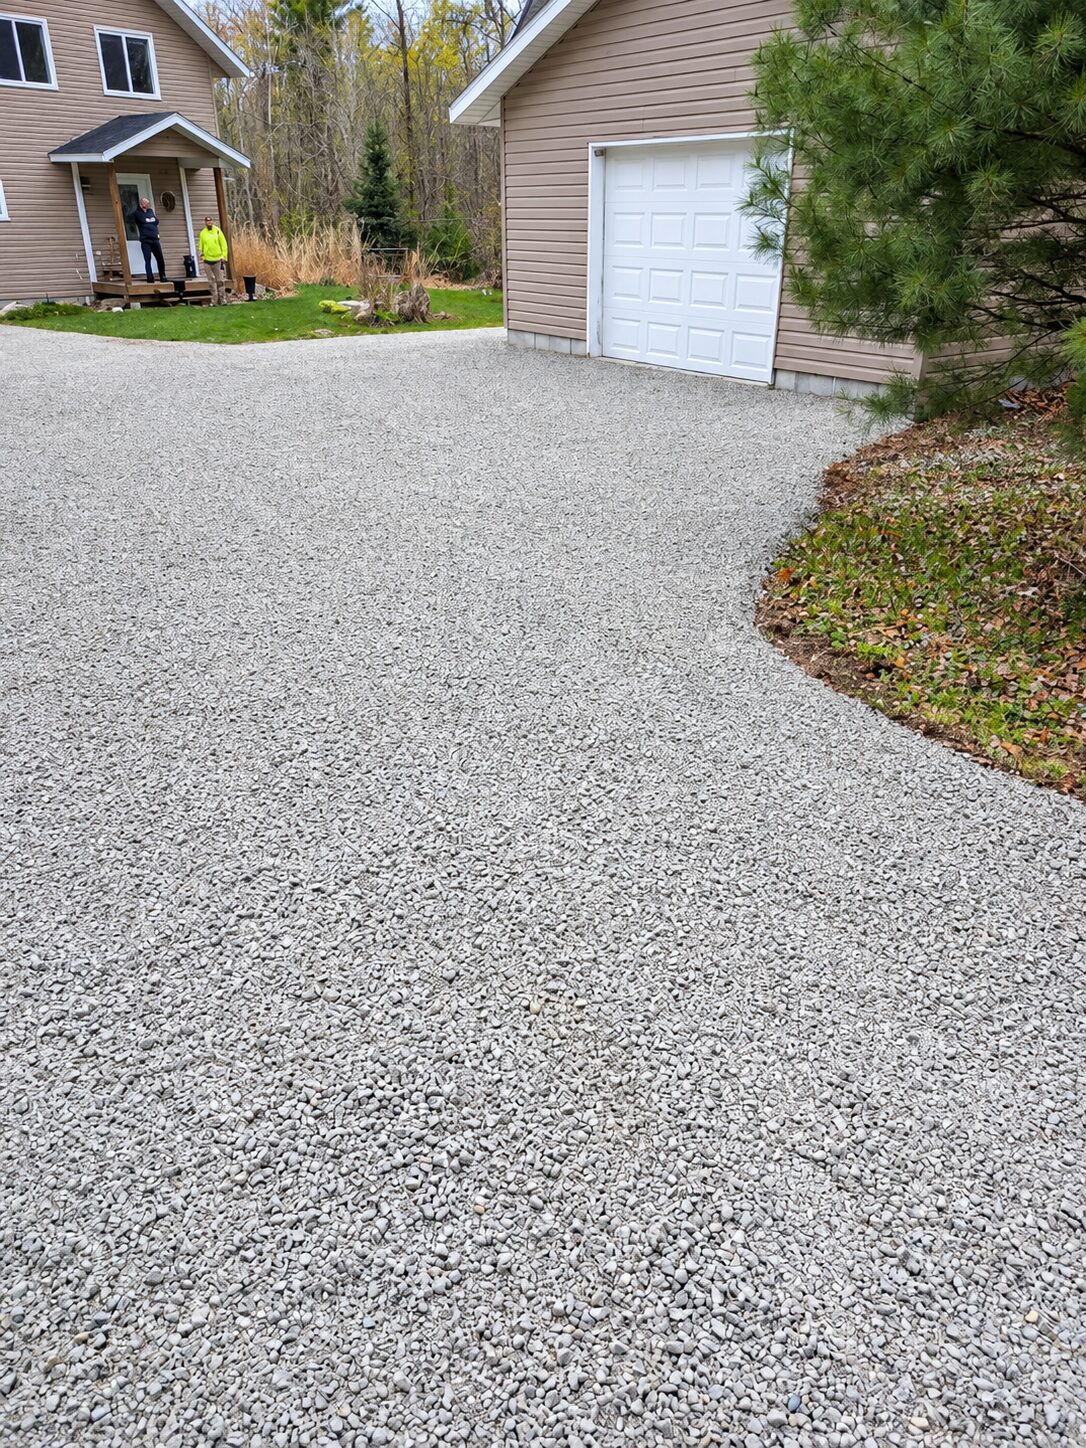
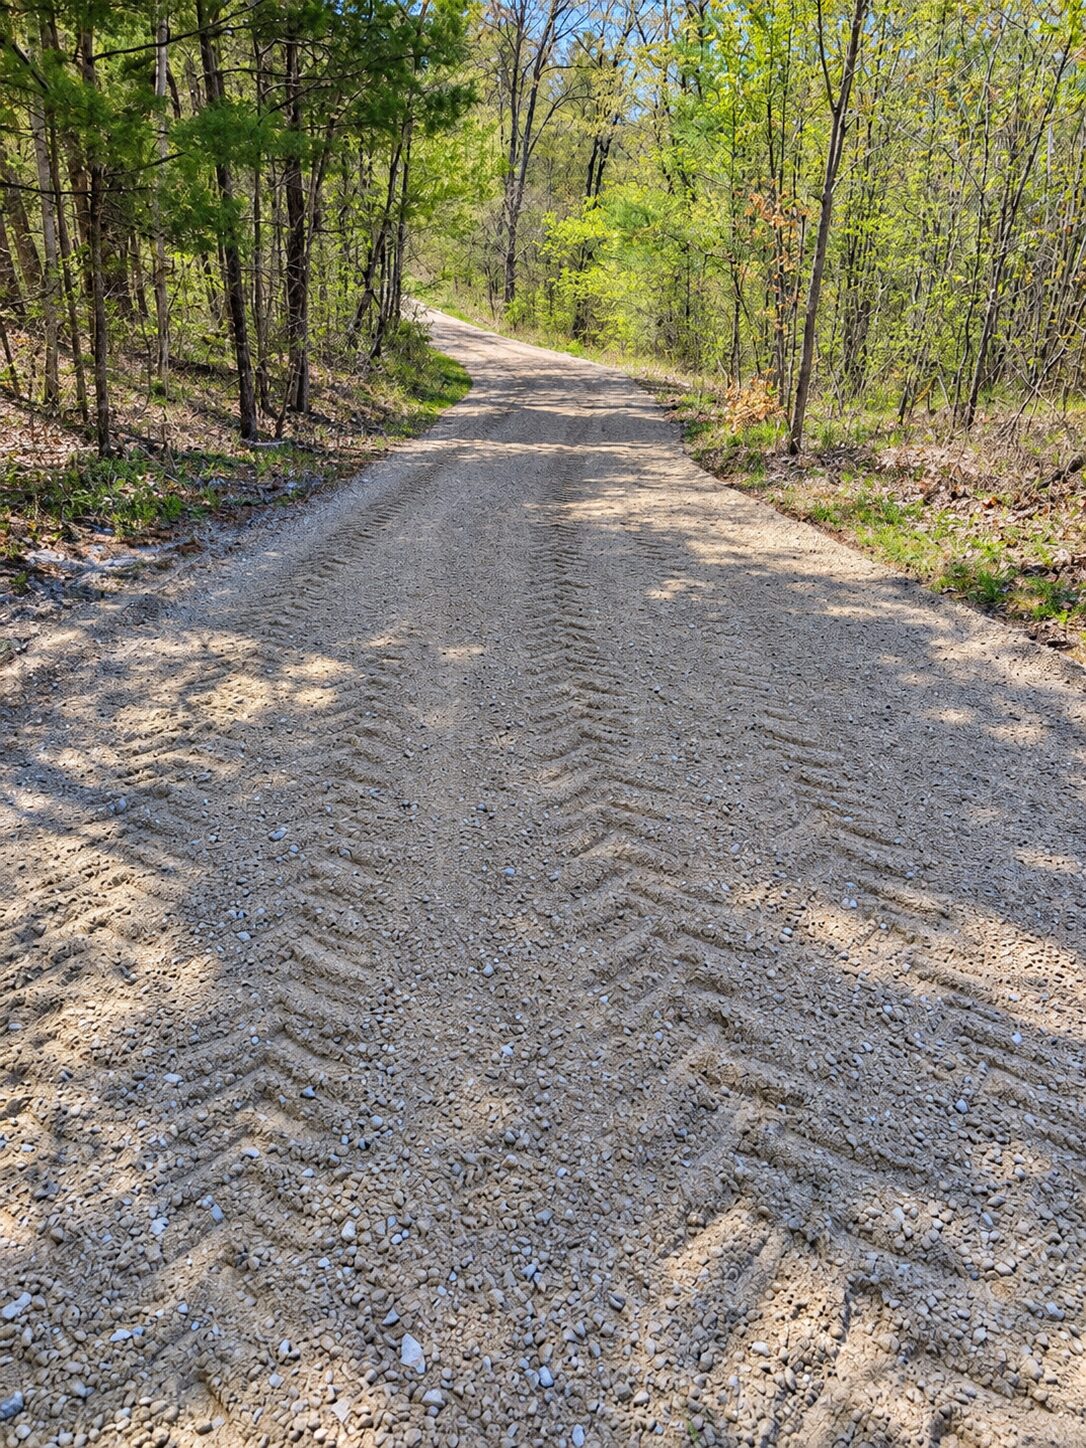
We build new driveways from raw ground — levelling the ground underneath, installing culverts, laying the right mix of gravel, shaping a slight peak down the centre so water runs off, and packing down every layer. We also resurface tired driveways with fresh packing gravel, fill in low spots and re-level surfaces that winter frost has pushed out of shape.
Preparing the Base
Proper gravel driveway construction starts below the gravel. We strip off the topsoil and soft organic material, since it holds water and sinks under weight, until we reach firm ground. On soft or wet ground we can lay a heavy fabric underneath so the stone doesn't get pushed down into the soil.
Next comes the base: about 6–8 inches of coarse crushed stone, spread and packed down in layers. This layer carries the weight of your vehicles and delivery trucks. Without it, even a thick layer of surface gravel will rut out.
Grading & Drainage
Water is what ruins gravel driveways. We shape the surface with a slight peak down the centre, sloping about 3–4% to each side, so rain and snowmelt run off instead of following the wheel tracks. On hillside lanes we can tilt the whole surface to one side instead.
Where the land allows, we cut shallow ditches along the sides and put in culverts wherever water needs to cross under the driveway, sized for how much water your property actually sheds. The finished surface is 2–3 inches of finer packing gravel that locks together and sheds water.
Resurfacing an Existing Driveway
Not every driveway needs a full rebuild. If the base is still solid, we can loosen and re-level the worn surface, fill potholes, bring back the raised centre and top it with fresh packing gravel. If the base has failed, with soft spots, deep ruts or mud coming through, we'll tell you honestly that a rebuild will save money in the long run.
Read the Guide
How to Build a Gravel Driveway That Lasts
The difference between a gravel driveway that lasts fifteen years and one that turns into ruts by year two.
See a Real Project
Gravel Driveway Rebuild & Grading
Sharbot Lake area, ON · 3 days
Benefits
- Correct gravel layering — a coarse stone base under a finer packing-gravel surface
- A slight peak down the centre so water sheds off the driveway instead of running along it
- Culverts sized to the water your property actually sheds, not guessed at
- Every layer packed down properly for a surface that lasts
Our Process
- 01
Site Consultation
We visit your property, walk the job with you, understand access, elevations, drainage and any obstacles, then confirm a scope you can plan around.
- 02
Written Estimate
You receive a clear, itemized quote — no surprise line items, no vague allowances. What's included and what isn't is spelled out in plain language.
- 03
Scheduling & Locates
We arrange to have buried utility lines — hydro, gas, water — located and marked, coordinate with any other trades on site, and lock in a start date that fits your timeline and the ground conditions.
- 04
Execution On-Site
Our crew shows up when we said we would, protects surrounding areas, and works efficiently with the right machine for the job.
- 05
Cleanup & Walk-Through
We restore the site, haul away debris, and walk the finished work with you before we invoice — so you sign off knowing the job is done right.
Frequently Asked
Our Work
Ready when you are
Let's talk about your project.
Every job starts with a site visit and a straight answer. No pressure, no vague pricing, no crew you've never met showing up. Just an experienced local contractor who does what he says he will.